Water Flosser Tips Guide: Types and Uses

Written by the Longmont Dental Loft Team
As covered in our article on water flossers, we recommend everyone use a water flosser in their daily oral routine. A type of dental floss, water flossers wash away food particles, debris, and bacteria that ordinary flossing can’t, offering an extra layer of protection against possible dental problems.
An essential component of water flossers is their tips, also known as water flosser attachments or water flosser accessories. Using the right tip is as important as using a water flosser in general, and you may not realize how many options are available. Below, we cover the tips made by Waterpik, as that’s the most popular brand consumers use and the one we recommend. However, note that not all tips are compatible with all Waterpik flossers. Read our article on Waterflossers to learn more. Many other brands use similar tips, so even if you have another brand this is still applicable.
What Tip Should I Use?
That depends on your dental history, but it’s worth noting you could use more than one tip. Many people use an all-purpose tip, such as the classic jet tip, but others need something more specific, like a tip for people with metal braces.
The following is a list of the available Waterpik tip options:
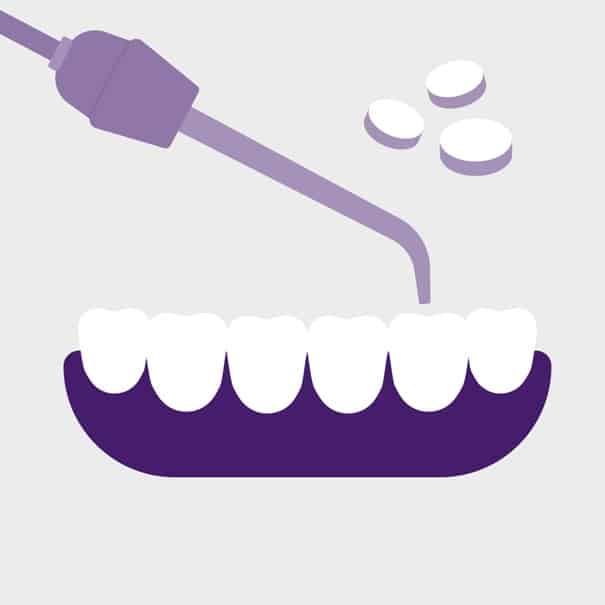
Boost Tip + Whitening Tablets
This tip is for anyone who wants to remove stains from their teeth. It has a canister for inserting a whitening tablet, which gradually dissolves as you use the water flosser. The active ingredient in the whitening tablet is glycine, a mild abrasive that helps remove stains when combined with the pressurized water stream. Waterpik states that the boost tip is clinically proven to reduce stains 25% more than brushing alone, but we believe it’s about as effective as whitening toothpaste. Of course, if you really want bright teeth, we recommend in office teeth whitening as that’s most effective.
One bonus feature of the boost tip is that it relies on inserting the tablet in the tip instead of adding mouthwash to the reservoir, which requires more work to clean after use.
How to use: After inserting the tip into your water flosser handle, twist it open, place the tablet inside, and close it. Water floss as usual.
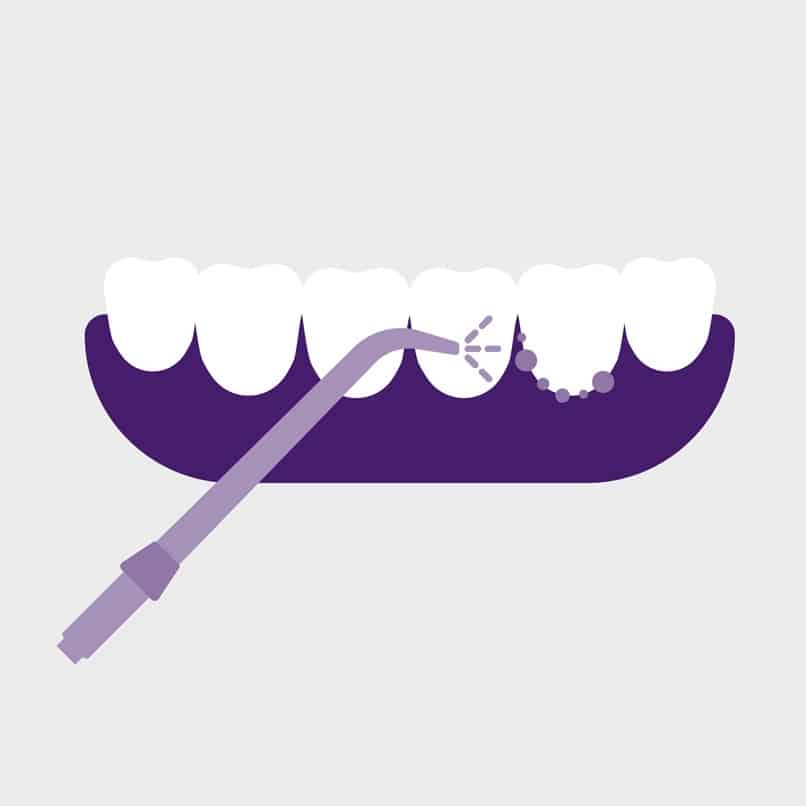
Classic Jet Tip
This is an all-purpose tip designed for general use and the one most people use.
How to use: Hold the tip at a 90-degree angle and follow the contour of your gum line.

Orthodontic Tip
This is designed for people with metal braces and has a short cluster of stiff bristles to tackle those hard-to-reach areas. You could use the classic jet tip along with the ortho tip, but most of our patients with braces use just the ortho tip. That’s perfectly acceptable, especially for children because it’s more challenging for them to switch attachments.
How to use: Glide the tip gently along your gum line, pausing at short intervals to lightly brush between your teeth and around your braces.
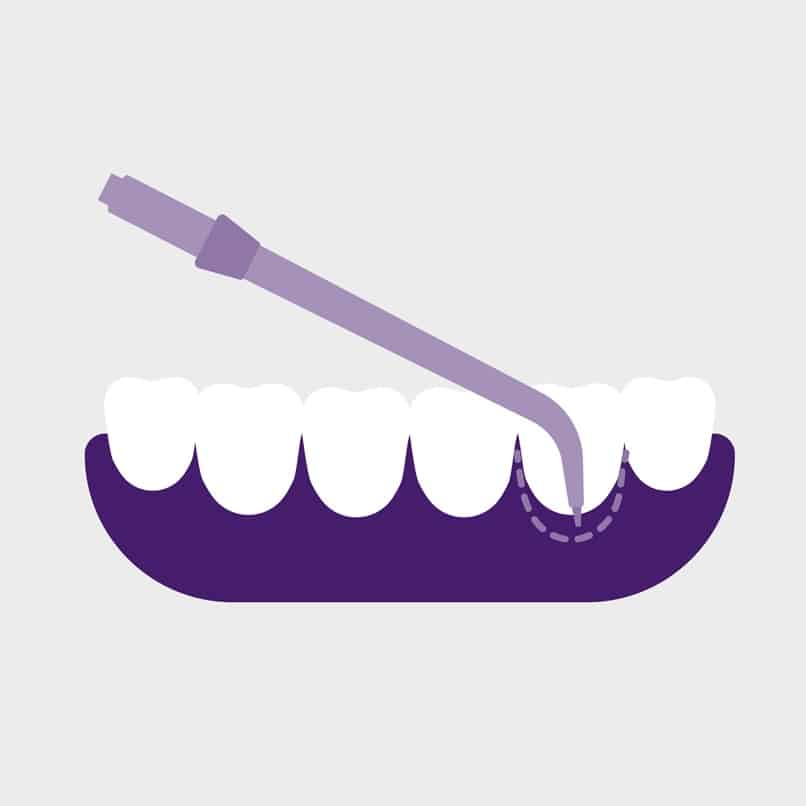
Pik Pocket Tip
This tip is for people with periodontal disease and has a long, tapered tip that acts like a nozzle for cleaning deep into periodontal pockets between your teeth and gums. Because the pik pocket tip only serves in cleaning pockets, you’ll need to use it with another tip like the classic jet or plaque seeker if you have implants.
How to use: The pik pocket tip uses a stronger stream of water, so Waterpik advises turning the device to its lowest setting while placing the tip against the tooth at a 45-degree angle and under your gum line before turning the power on. After inserting the tip into the pocket, gently move it around to clean the area instead of squirting water into it and removing it. You can increase the water pressure as you use the device more often, but we don’t recommend increasing the Waterpik setting past 2.
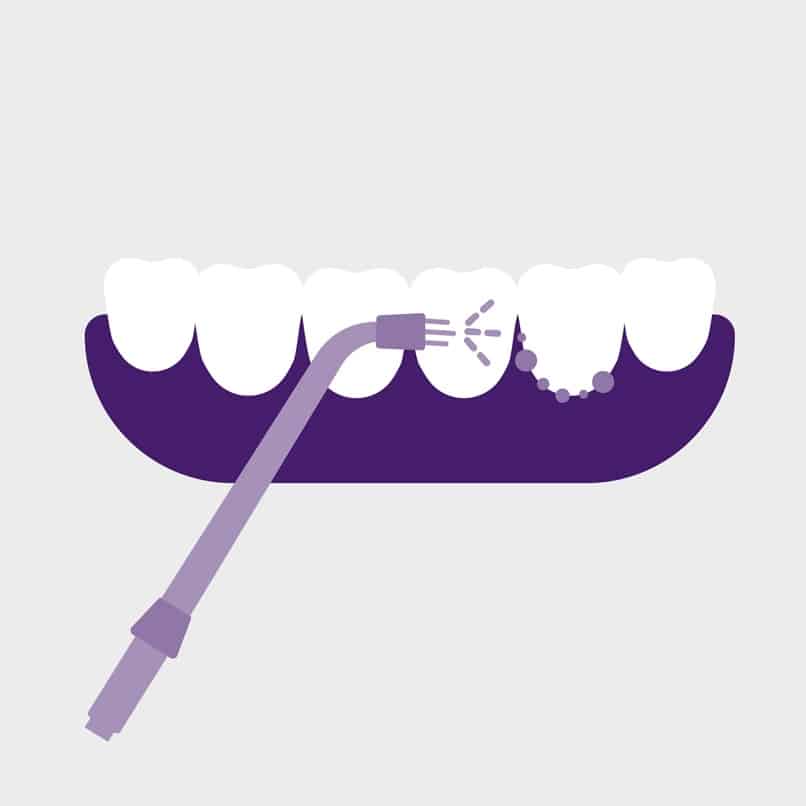
Plaque Seeker Tip
This is for people using a Waterpik for the first time or who wear implants, crowns, or bridges. At Longmont Dental Loft, we call this tip the “training wheel” toothbrush; it’s similar to the classic jet tip, except it has long bristles in three clusters. It’s suitable for beginners because the bristles guide you and make it easy to tell if you’re aiming the tip toward your gum line. After you get accustomed to using the Waterpik, you can transition to the classic jet tip.
Although you could use the plaque seeker tip in conjunction with the classic jet tip, it’s easier and more effective just to use the plaque seeker tip if you have implants, crowns, bridges, or similar devices because it removes the plaque that builds up around them. Don’t use the ortho tip because that’s intended for people with braces.
How to use: Position the tip so the bristles touch your teeth and move it along your gum line gently, pausing briefly to brush and allowing water to flow between your teeth.
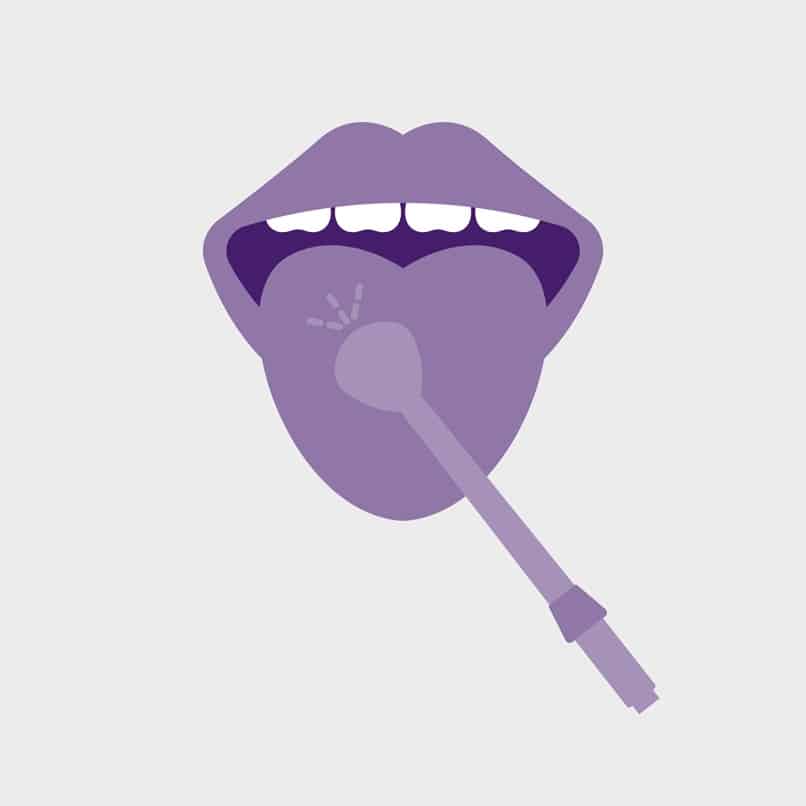
Tongue Cleaner Tip
As long as you have a tongue, you can use the tongue cleaner attachment. Although we’ve never used it and don’t know any patients who have, it’s an interesting device we don’t see any downside to. However, we believe cleaning your tongue with either a toothbrush or manual tongue scraper is better because these options are less messy.
How to use: Ensure the Waterpik is turned off and the pressure is at the lowest setting. Place the cleaner in the center of your tongue, turn the device on, and pull the tongue cleaner forward using gentle pressure. Repeat until your tongue is clean, increasing the water pressure if you’d like.
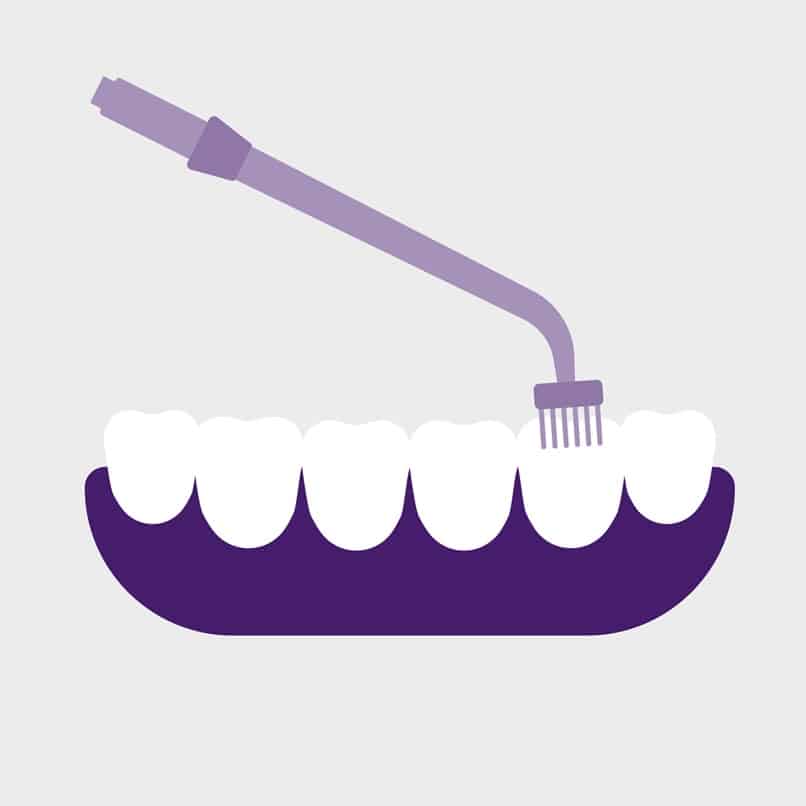
Toothbrush Tip
This is also an all-purpose tip, but it resembles a toothbrush. We don’t suggest using this tip because it doesn’t replace a traditional toothbrush, so you still need to brush your teeth after using it. Also, the large bristles make it difficult to know what areas of your mouth the water stream is targeting and if you’re following the contour of your gum line correctly.
How to use: Use with or without toothpaste, and place the tip on your tooth at the gum line. Massage gently with the brush head using short strokes.
How Do I Clean My Tips?
According to Waterpik, remove the tip from the water flosser by pressing the eject button. Soak the tip in hydrogen peroxide or white vinegar for five to seven minutes, then rinse it with warm water.
How Often Do I Replace My Tips?
Tips without Bristles
This includes most tips like the classic jet tip, and Waterpik suggests replacing them every six months. However, because they don’t contain bristles and are made of plastic and/or rubber, we don’t think replacing them that often is necessary. Instead, replace them when you notice signs of wear, while noting that it can’t hurt to replace them once yearly as they’re not expensive.
Tips with Bristles
This includes the ortho and plaque seeker tips. Waterpik says to replace these every three months, but we suggest replacing them when you notice wear on the bristles. Depending on how often you use the tips and your technique, they may last over three months. However, like tips without bristles, we recommend replacing them at least once yearly.
Summary
Now that you have a better overview of the different Waterpik tip options, you can feel confident you’re choosing the right one(s) for your needs. Of course, using the right water flosser is just as important, so check out our article on water flossers if you need help deciding which one to purchase.